Night Street Photography: Settings, Light and Staying Safe
Photo Culture · 27 October 2026
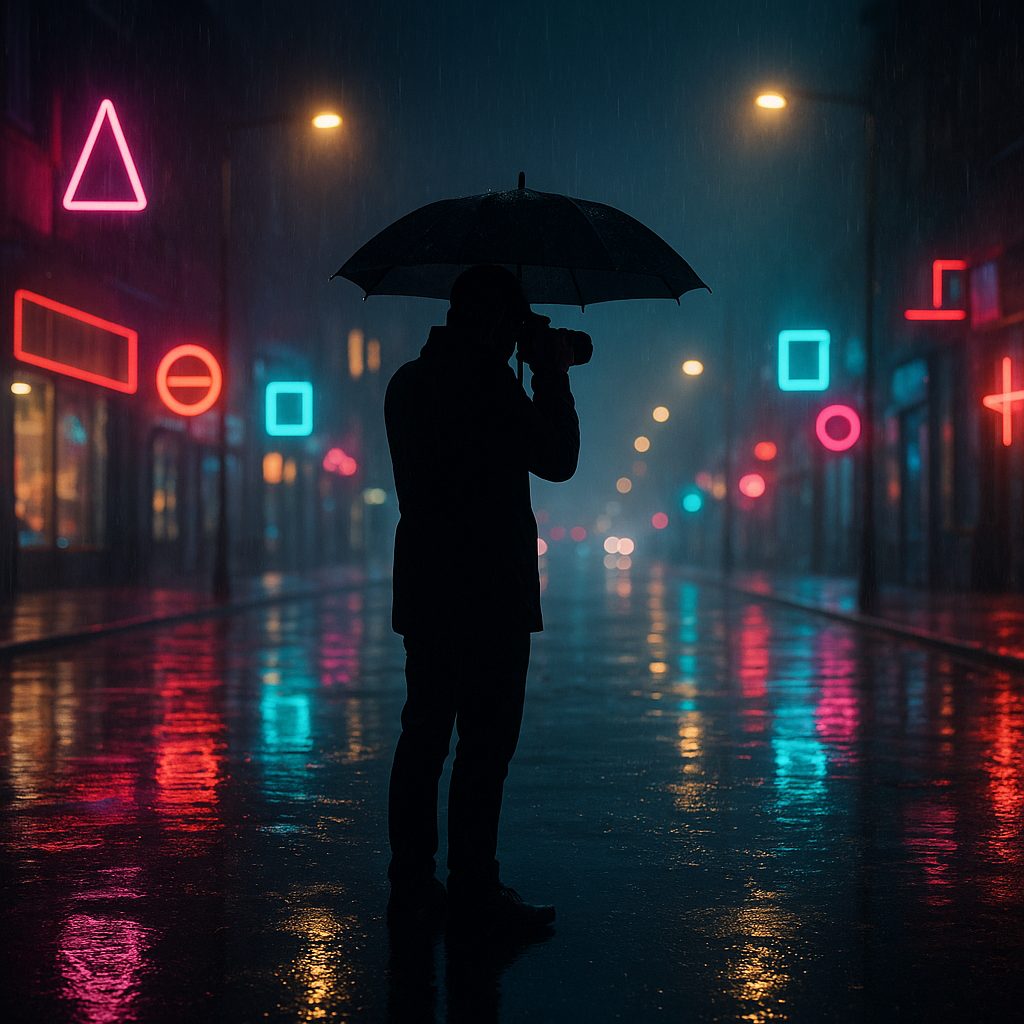
After dark the city becomes a different country. The crowds thin, the light concentrates into pools and spill, and ordinary streets turn theatrical. Night street photography rewards the photographer who adapts: the exposures are harder, the focusing slower, and the safety calculus changes. But the pictures available at night — lit windows, neon reflections on wet pavement, solitary figures in amber streetlight — simply do not exist at noon. This guide covers the settings, the seeing, and the street sense you need to work after dark and come home with frames worth keeping.
Start at blue hour, not at midnight
The easiest entry into night work is the hour after sunset, when the sky still holds deep blue light but the city has switched itself on. Ambient light fills the shadows, exposures stay manageable at moderate ISO, and the mix of cobalt sky with warm windows gives you colour contrast no daylight hour can match. Work blue hour until your technique is solid, then push deeper into the dark. Many photographers find that a month of blue-hour evenings teaches them more about night exposure than a year of occasional late nights, because the margin for error is wide enough to learn inside it.
Settings that survive the dark
The night exposure triangle has one fixed point: your shutter speed cannot drop below what freezes a walking person, roughly 1/125th, and 1/250th is safer. Given that, aperture goes wide or nearly wide — f/2, f/2.8 — and ISO takes the strain. Modern sensors produce perfectly usable files at ISO 3200 and often 6400; grain is a texture, not a failure. Underexposing by a stop to protect shutter speed and lifting in post is usually worse than shooting the correct ISO at the right exposure, because pushed shadows get noisy and banded faster than honest high-ISO files.
Shoot raw, always, and set white balance deliberately. Auto white balance will try to neutralise the sodium orange and neon magenta that give night pictures their character. Daylight or a fixed Kelvin value around 3200–4000 preserves the mixed-light palette you actually saw. If you love high contrast and graphic shadow, night is also the natural home of black and white street photography, where deep blacks are a feature, not a defect.
Learning to see light after dark
At night you do not find good light across a whole street; you find it in spots. A lit doorway, the spill from a late café, a phone screen in a dark bus queue — each is a stage with its own tiny pool of illumination. Work spot to spot: stand in the dark, aim into the light, and wait for someone to cross the lit area. The fishing method described in our street photography tips becomes twice as effective at night, because the stages are obvious and the performers arrive one at a time.
Expose for the highlights. The night frame should be mostly black with the subject carved out of it; if your histogram tries to lift the shadows into grey mush, pull it back. Silhouettes against lit windows, rim light from a streetlamp behind the subject, faces half-lit by signage — these all depend on letting the dark stay dark.
Rain, neon and steam: the night multipliers
Wet pavement doubles every light source in the city. A rainy evening is the single best condition in night street photography: reflections stretch across the ground, umbrellas give you graphic shapes, and the streets empty of everyone except the committed — pedestrians and photographers alike. Carry a lens hood against drizzle and a microfibre cloth in your pocket.
Neon and LED signage give you colour you could never create in daylight; learn which districts of your city carry it and visit them repeatedly; the same sign reads differently every evening depending on rain, crowds and your angle. Steam from vents and food stalls backlit by a shop light turns an ordinary corner into a film set. The photographers who get these frames are not lucky — they have a mental map of where night is generous, built over months of returning.
Focusing and timing in the dark
Autofocus struggles in low light and low contrast, so give it help: focus on edges where light meets dark, or pre-focus at a set distance and work within the zone, exactly as you would by day. At f/2 the depth of field is thin, so knowing where your focus plane sits matters more than ever. Some night shooters zone-focus at three metres and accept the aperture penalty of f/4, paying for it with ISO — a sound trade on modern cameras.
Timing also changes after dark. Moments are slower and more isolated; instead of gestures in a crowd, you are waiting for a single figure to reach the pool of light. Take the frame as they enter it, not when they reach its centre — entering carries intent, centred is often static.
Safety and street sense
Night work demands a different head. Work busier districts late and quieter districts early, not the reverse. Keep the camera on a short strap, gear minimal and inconspicuous, and stay aware of who is behind you — the same openness and calm that protect you by day, from our field guide, apply doubled at night. Tell someone your route, keep a charged phone, and trust the instinct that says a street has gone wrong; no photograph is worth the argument you feel coming. If someone objects to being photographed, the answer is the same polite conversation it would be at noon — see our notes on street photography ethics — but at night, deliver it from a comfortable distance, and be quicker to move on.
Field note. Cold nights drain batteries fast and moving between warm interiors and cold streets fogs lenses. Carry a spare battery in an inside pocket and give the camera five minutes in its bag to acclimatise before shooting indoors.