Photography Workshop: How to Choose One and Get the Most Out of It
For Photographers · 18 March 2024
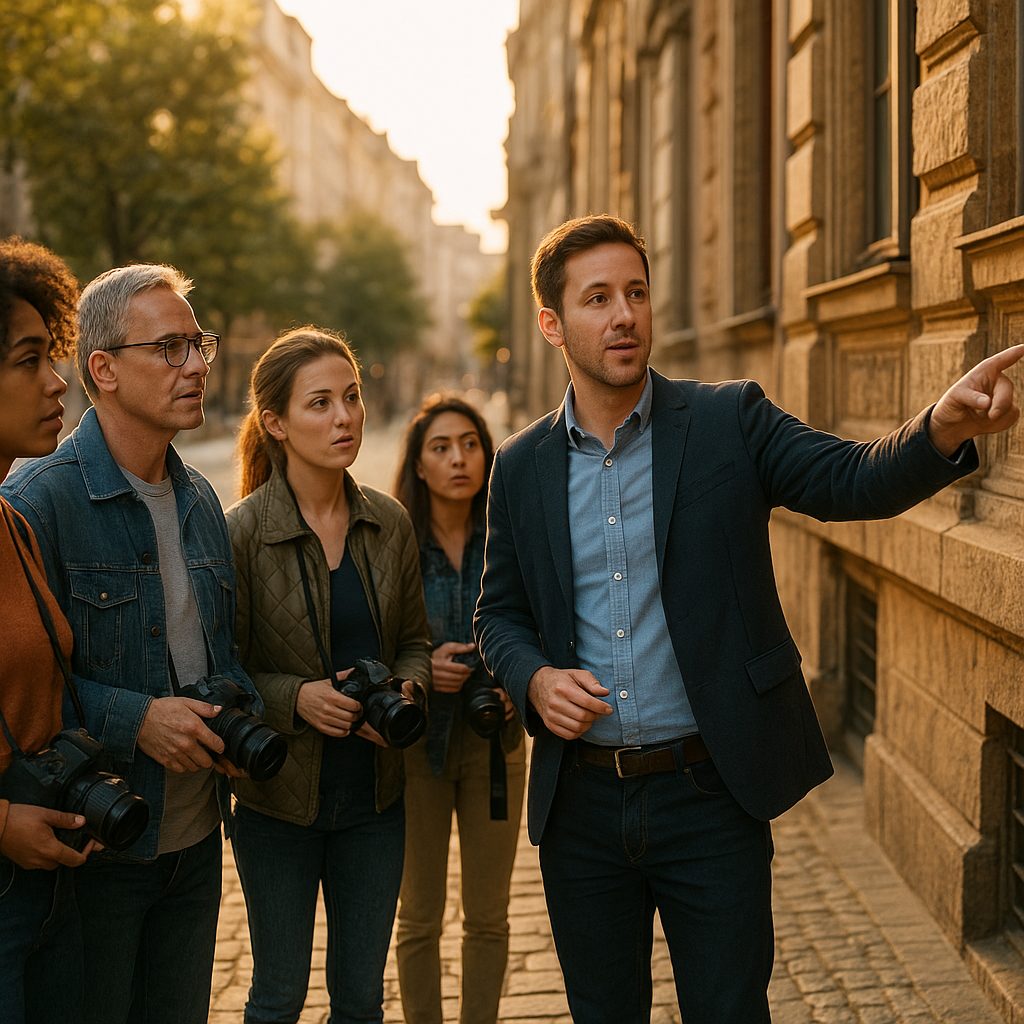
A good photography workshop can compress two years of solitary trial and error into a single week. A bad one is an expensive guided walk with a camera around your neck. The difference is rarely visible in the brochure — it lives in who is teaching, how many people are standing around them, and what you do before and after the workshop days themselves. Here is how to choose well and arrive ready.
Start with the instructor, not the location
The most common mistake is choosing a workshop by destination. A dramatic coastline will not teach you anything by itself, and a great teacher can run a life-changing workshop in a supermarket car park. Before you look at itineraries, look at the instructor's actual work — not the greatest hits on the sales page, but full projects, books, exhibitions. Do you want your pictures to move in that direction? A workshop quietly pulls you toward the teacher's way of seeing, so make sure it is a direction worth being pulled in.
Then check whether the person can teach, which is a separate skill from photographing. Look for evidence: years of teaching, former students whose work you can find, testimonials that mention specific things learned rather than general enthusiasm. "An amazing experience, five stars" tells you nothing. "She made me reshoot the same corner for three hours and I finally understood layering" tells you a great deal.
Group size is a curriculum
Eight participants is a different course from eighteen, even with the same teacher and the same schedule. In a small group you get daily individual attention, your pictures get discussed by name, and the instructor can adjust the plan to the people in the room. In a large group you get lectures, general critique and a social experience — which can still be valuable, but it is a different product and should be priced like one.
Ask the organiser directly: how many participants, how many instructors, and how much one-on-one time per person per day? Vague answers here are a red flag. Serious workshops state the cap on the sales page because it is one of the strongest things they have to sell.
Read the schedule like a contract
A workshop schedule reveals its real priorities. Count the hours. How much is shooting, how much is critique, how much is transit between photogenic locations? The single strongest predictor of learning is structured review time — sessions where your own images go up on a screen and get taken apart. A schedule that is all sunrise shoots and no editing will send you home with the same habits you arrived with, plus nicer files.
Be equally suspicious of schedules with no slack. Good instructors leave room to chase weather, light and the group's actual needs. An itinerary planned to the minute three months in advance is a tour, not a workshop.
Match the level, honestly
Workshops fail in both directions. If you are a beginner in an advanced masterclass, you will spend the week drowning; if you are experienced in a foundations course, you will spend it politely bored. Organisers usually state a level — believe them, and assess yourself against it honestly. A useful test: if the description mentions concepts you cannot define without searching, the course is probably above you for now. That is fine. Take the level below and be the person who gets the most out of it.
Prepare before you arrive
The participants who transform during a workshop almost always did the homework. Put together a small portfolio of your recent work — fifteen to twenty images, not two hundred — because most instructors will ask for it on day one, and assembling it forces you to see your own strengths and gaps. Write down two or three specific questions you want answered. "How do I get better?" produces conversation; "Why do my night street frames fall apart?" produces teaching.
Prepare practically as well: know your camera well enough that the controls disappear, bring a backup of whatever would ruin the week if it failed, and clear enough storage that you never have to delete in the field. If the workshop involves a particular genre — say, intensive street shooting — spend a few weekends practising the basics first, so the workshop time goes to refinement rather than first steps. Our street photography tips piece is a reasonable warm-up for exactly that.
Work the days themselves
During the workshop, resist the gravitational pull of making safe pictures. Nobody is grading you; the point of supervised shooting is to attempt the thing you cannot yet do, fail in front of a teacher, and be corrected while the situation is still in front of you. Show your failures in the critique sessions, not only your keepers — the failed frame is the one the instructor can actually work with. And photograph the way the instructor suggests even when it feels wrong, especially when it feels wrong. You can discard the method afterwards, but you can only judge it from inside.
Make it stick afterwards
Learning decays fast. Within a week of getting home, edit the workshop work properly, write down the three lessons that mattered most in your own words, and set yourself one small assignment that uses each of them. Stay in touch with two or three participants — the peer group is half the value of any workshop, and it is the part that continues for free. When the work matures, the natural next steps are the ones we cover elsewhere on this site: entering a photography competition or working toward your first photography exhibition. If you want to know who is behind this site, the about page explains the project.
Field note. Price is a weak signal in both directions. Expensive workshops are often worth it, cheap ones are often excellent, and the correlation is far looser than the marketing suggests. Judge the teaching, the group size and the critique hours — then look at the price tag.